Essential Woodburning Tools for Beginners
When I first stumbled into woodburning, I had the classic beginner moment:
Google a few blogs… get instantly overwhelmed.
Everyone had lists of “essential” woodburning tools that felt a mile long.
I figured I needed a whole craft studio, a dozen tips, multiple burners, maybe even a cute desk wrist pillow. (It escalated quickly.)
But in reality?
All I started with was a Walnut Hollow burner from a craft store and a pack of wood slices.
And you know what? That was enough.
You don’t need a million tools to get started.
You just need a few good ones—and a little room to learn as you go.
Here’s the simple kit I’d hand to any beginner if I could.
1. A Reliable Woodburning Tool (It Doesn’t Have to Be Fancy)
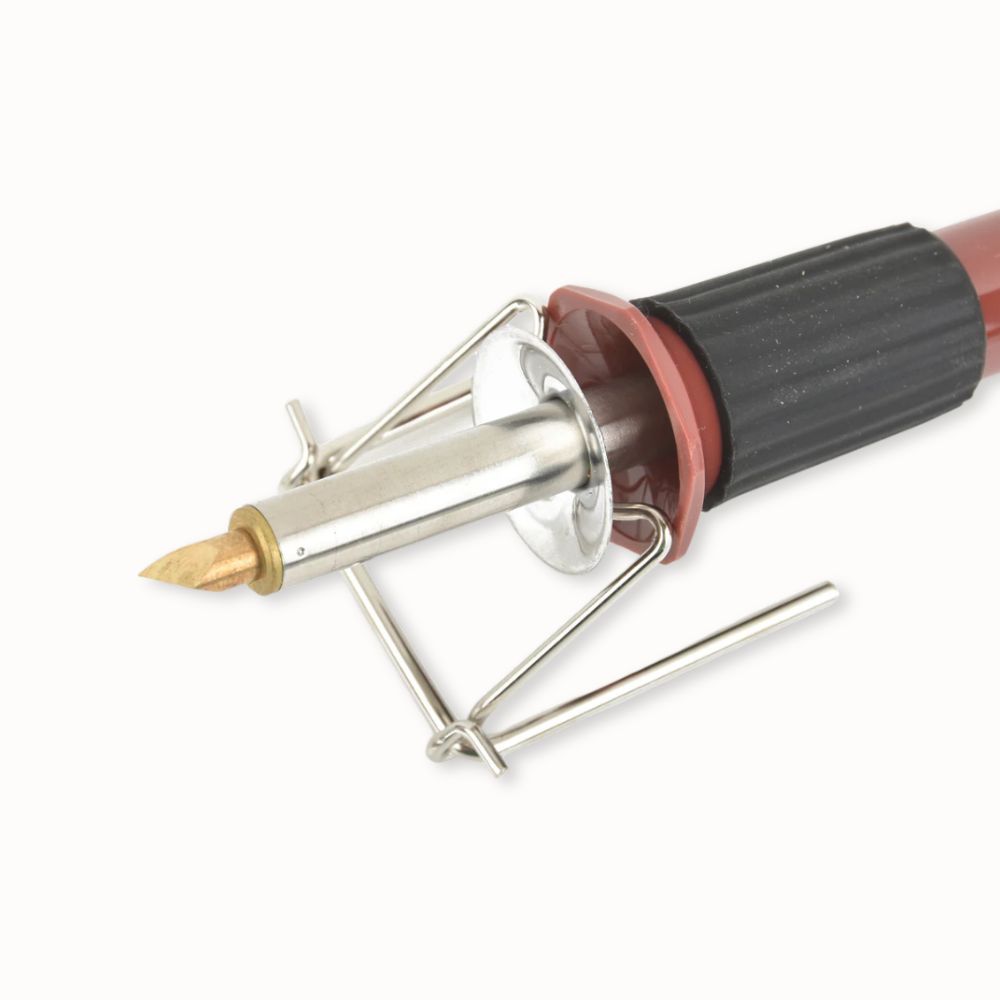
My very first tool was a Walnut Hollow Creative Versa Tool —simple, affordable, and good enough to learn the basics.
Eventually, I upgraded to a Colwood Detailer, which has adjustable temperature control and a smoother grip.
(If you fall hard for woodburning, you’ll probably want to upgrade, too—but there’s no rush.)
The two main choices for beginners:
- Solid-point burner: simple, one-temperature tool, best for basic designs
- Variable temperature burner: more control for shading and fine detail
2. A Few Simple Tips (You Don’t Need the Whole Set)
If your tool comes with a baggie of 20 tips, don’t panic.
For beginners, you really only need three:
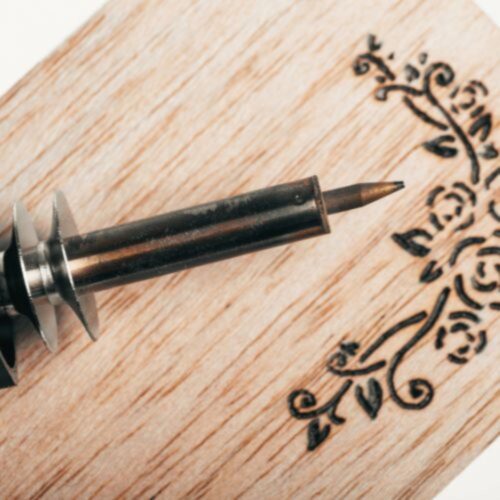
- Universal tip (for general lines and shapes)
- Shading tip (for filling larger areas smoothly)
- Fine-point tip (for tiny details and lettering)
The rest are fun to play with later, but you won’t miss them at first.
And don’t forget:
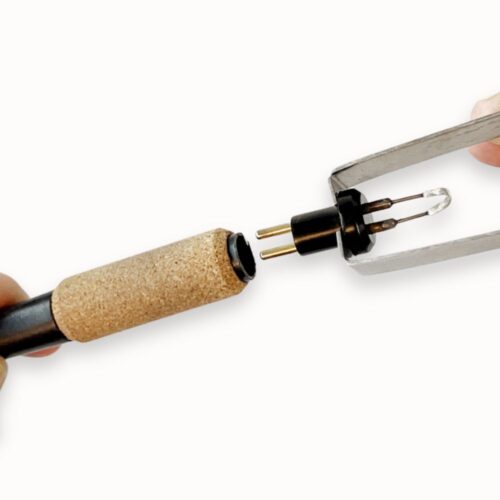
Always use pliers when switching hot tips, and set them in a ceramic dish or heat-safe holder so they don’t roll around.
3. Soft, Unfinished Wood (Your New Best Friend)
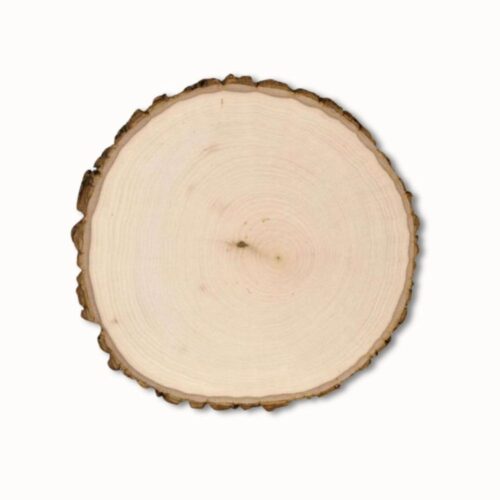
Basswood, birch, and poplar are ideal for beginners.
They’re smooth, forgiving, and easy to burn without cranking the heat to “scorch the earth” levels.
A few beginner wood tips:
- Stick with raw, unfinished wood (no stains, paints, sealers)
- Sand your wood with fine-grit sandpaper (220 grit) before burning for smooth lines
- Start with lighter woods—your designs will show up better, and your burns will be cleaner
Need more wood advice? I put together a whole post: Best Woods for Pyrography (And What to Avoid).
4. A Heatproof Stand (Because You Will Get Distracted)
My first burner came with one of those tiny metal stands—the kind that looks like an afterthought.
I figured it was fine… and honestly, I still use it.
Is it wobbly?
Absolutely.
Have I learned to work around it?
Also yes.
Here’s what helps:
- I clear a wide, stable space so the stand isn’t crowded.
- I keep the cord tucked neatly out of the way (cords tugging while you’re burning = bad news).
- I work over a thick cutting board or heatproof mat, just in case anything tips or slips.
If you find yourself getting frustrated with the basic stand, some artists upgrade to a sturdier docking station like this one that stays put better.
(Some people even tape their stand down to the table with heat-resistant tape—especially if they’re burning for long sessions.)
Either way—wobbly or solid—the goal is the same:
Keep your workspace safe and calm, so you can actually relax and create.
5. Pencil, Sand Eraser, and Fine-Grit Sandpaper
When I first started burning, the idea of sketching directly onto wood felt… intimidating.
Like, what if I messed it up? What if it looked weird forever?
If you feel that way, too, you’re in good company.
Here’s what I keep close by when I’m planning a piece:
- A regular old #2 pencil (nothing fancy)
- A Tombow sand eraser (it lifts pencil marks cleanly without smudging)
- A small sheet of 220-grit sandpaper (to smooth the surface before and after sketching)
I sketch lightly—sometimes just quick shapes or outlines.
Erase what I don’t love.
Sand it down again if the wood feels rough.
And if freehand drawing feels overwhelming?
That’s okay too.
A lot of artists use graphite paper, vinyl stencils, or even printed templates to transfer designs.
If you want an easy place to start, I put together a beginner’s guide:
How to Transfer Designs for Woodburning (Step-by-Step Guide)
I’ll also be adding hand-drawn templates to the shop soon if you’d rather trace something ready-to-go.
Start small. There’s no pressure here.
6. Optional (But Lovely): Finishes
If you want to seal your piece, especially if it’s a cutting board, coaster, or something that’ll get touched a lot, you’ll want a finish.
Good beginner choices:
- Food-safe mineral oil (for kitchen items)
- Clear spray finish (for decorative projects)
Just remember: burn first, seal later.
Never burn on top of paint, stain, or any coating—it releases chemicals into the air.
More about ventilation and staying safe: Essential Woodburning Safety Tips for Beginners.
Beginner’s Quick Checklist: Starter Woodburning Kit
- Walnut Hollow burner (or similar beginner tool)
- Universal tip, shading tip, fine-point tip
- Raw basswood, birch, or poplar board
- Heatproof stand
- Pencil and sand eraser
- Fine-grit sandpaper (220 grit)
- (Optional) Food-safe oil or clear spray finish
- A good playlist and a little patience
You Don’t Have to Have It All to Start
If I could go back and tell myself one thing at the beginning, it would be this:
You don’t have to have everything figured out.
You just have to start.
The best tool is the one you have.
The best project is the one you actually try.
Everything else—fancier burners, extra tips, fancy finishes—can come later.
For now?
You and a burner, and a piece of wood are more than enough.
When you’re ready for a few more woodburning tools in your art kit, I’ve put together this guide to my favorite upgrades.
Are you just starting your woodburning journey?
Or did you already fall down the rabbit hole like I did?
I’d love to hear: what’s in your starter kit, or what do you wish had been?


